

Genius! The Soda Bottle Sprinkler

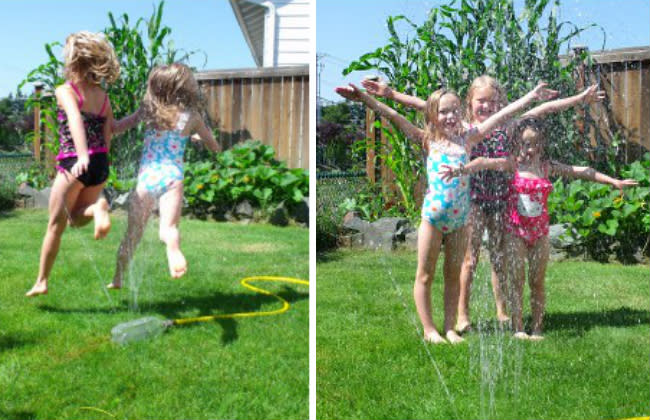
For most parents, the week of Labor Day is jam-packed with barbecues, parades, or back-to-school shopping. But for kids, the holiday is a bleak reminder that summer vacation is really over. Before sending the little ones back to school, give them one last summer treat—some backyard fun with this (practically free!) DIY sprinkler from Jenn at Clever Crafty Cookin' Mama. You'll only need three supplies to make their day: a push pin, an empty 2-liter soda bottle, and a 3/4" swivel hose adapter from your local hardware store.
After rummaging through your recycling bin, rinse out your bottle of choice to remove any drink residue. Then take the washer that came with your hose adapter, twist it onto the bottle's neck, and screw on the swivel hose adapter. Now grab a push pin and poke about eight holes along one side of the bottle. You'll want to make them large enough to let out thin streams of water, so wiggle the pin around in each of your starter holes to widen them. Attach the adapter to your garden hose and turn on the spigot, keeping the water pressure low to start. Once the bottle fills with water, the excess will start to spurt out just like a sprinkler.
The best part? This hose attachment is totally customizable to your needs. For a higher stream, increase the water pressure; for a lighter mist, Jenn recommends keeping the pricked holes tiny. Expect hours of enjoyment on the last of the hot summer days, and when—rather, if—the kids tire of it, just move this simple DIY into your garden as a hands-off way to water plants.
FOR MORE: Clever Crafty Cookin' Mama
Related Articles

